What is the easiest method on how to install Minecraft shaders? Well, some people have been having a difficult time trying to figure it out. What some players might not know is that it is possibly the easiest graphics modifications that you can possibly do. Read along as we guide you on the step by step process on downloading and installing a Shader for Minecraft
What are Minecraft Shaders
A Shaderpack or Shader for short is a visual customization for Minecraft. Some people have considered them as mods, while others prefer just referring to them independently as shaders. These visual customizations help make your Minecraft world look better and essentially brings in more life to the game.
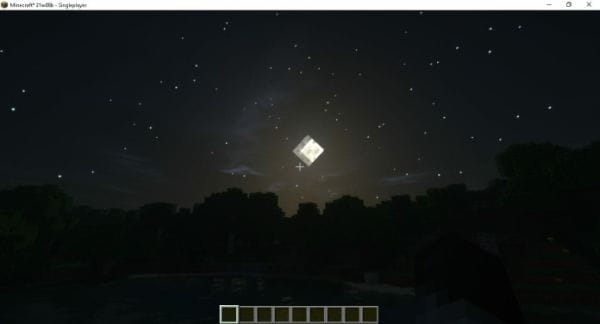
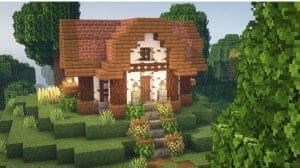
They work by doing post-processing into the visuals of the game, rendering the overall appearance to look better. It balances and enhances the shadows, the lighting and the color balancing of the game. This greatly improves aesthetics and forces Minecraft to convey better gradients making the game look more realistic. It also adds movement effects such as ripples in the water, swaying leaves, and moving grass.
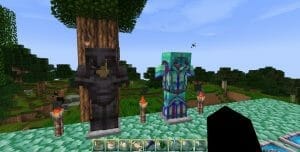
Most of the times Shaders are used together with Realistic texture packs or 256x texture packs. This is because the effects that Shaders bring simply make HD packs even more detailed than before. Some of the shaders could even make Minecraft look like a triple AAA game like RDR2. Now that we have your attention, read on to learn How to Install Minecraft Shaders.
Why Should You Install a Minecraft Shaders
The usual reason why avid Minecraft players download and install Shaders is because of the fact that it simply makes the game look way better in terms of visuals. The simple post-processing or core processing that shaders do completely overhauls the game. Just basing from this you'd already probably guess why you need to know How to Install Minecraft Shaders.
There are hundreds if not thousands of Shaders out there. However, there might be some that are full of nasty bugs or are just plain ugly. This is why our team of dedicated Minecraft fanatics have compiled a list of the 10 Best Minecraft Shaders to help players cut down the numbers in deciding which Shaders to install.
How to Install Minecraft Shaders
Time it takes to Install: 2 Minutes
Difficulty: Easy
Installing Minecraft Shaders will only take you around 2 minutes. It is a fairly easy customization to do. The complexity of the results are just too good to not try it yourself. Simply follow our steps and you should get Shaders running on Minecraft in no time.
Step 1: Download Optifine
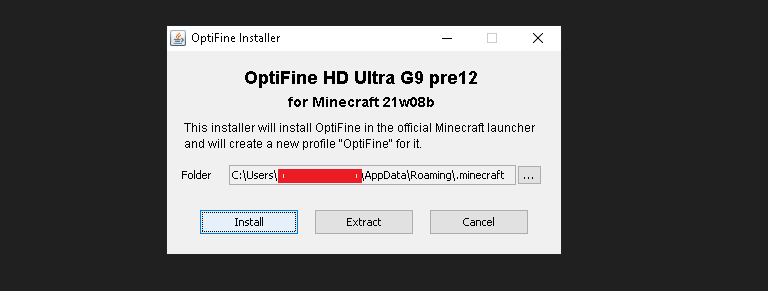
We have prepared a very detailed guide on the best way how to Install Optifine. You can read our article for better explanations and a step-by-step procedure or you could choose to just read on as we will provide a quick summary of the guide in this article.
- 1Download Optifine here
- 2Unzip the file
- 3Run the installer
- 4Point to the proper directory
- 5Click Install
Take note that this is the first step on How to Install Minecraft Shaders. Also, before you try to install Optifine you will need to run the version of Minecraft in which you want to download Optifine to. Also, the version of Optifine needs to correspond to the version of the Minecraft.
Step 2: Download Your Shader of Choice
If this is your first time downloading from minecraft-resorucepacks.com then we suggest you first read our full guide on How to download a pack from our website. Just to make sure you won't get confused.
When choosing a shader make sure to consider the specs of your device, how realistic do you want to get, and the vibes you want to feel. Each shader has it's own unique emotion to it. To help you pick easier, you can read our Top 10 Shaders List.
Step 3: Run Minecraft with Optifine Installed
Make sure to run Minecraft with Optifine Installed in it. Otherwise, you won't be able to activate any Shaders. The reason why you need to download Optifine first is because it is the mod which allows you to use Shaders.
Step 4: Activate the Minecraft Shader In-game
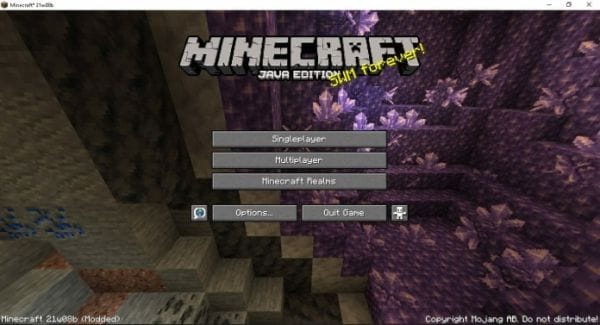
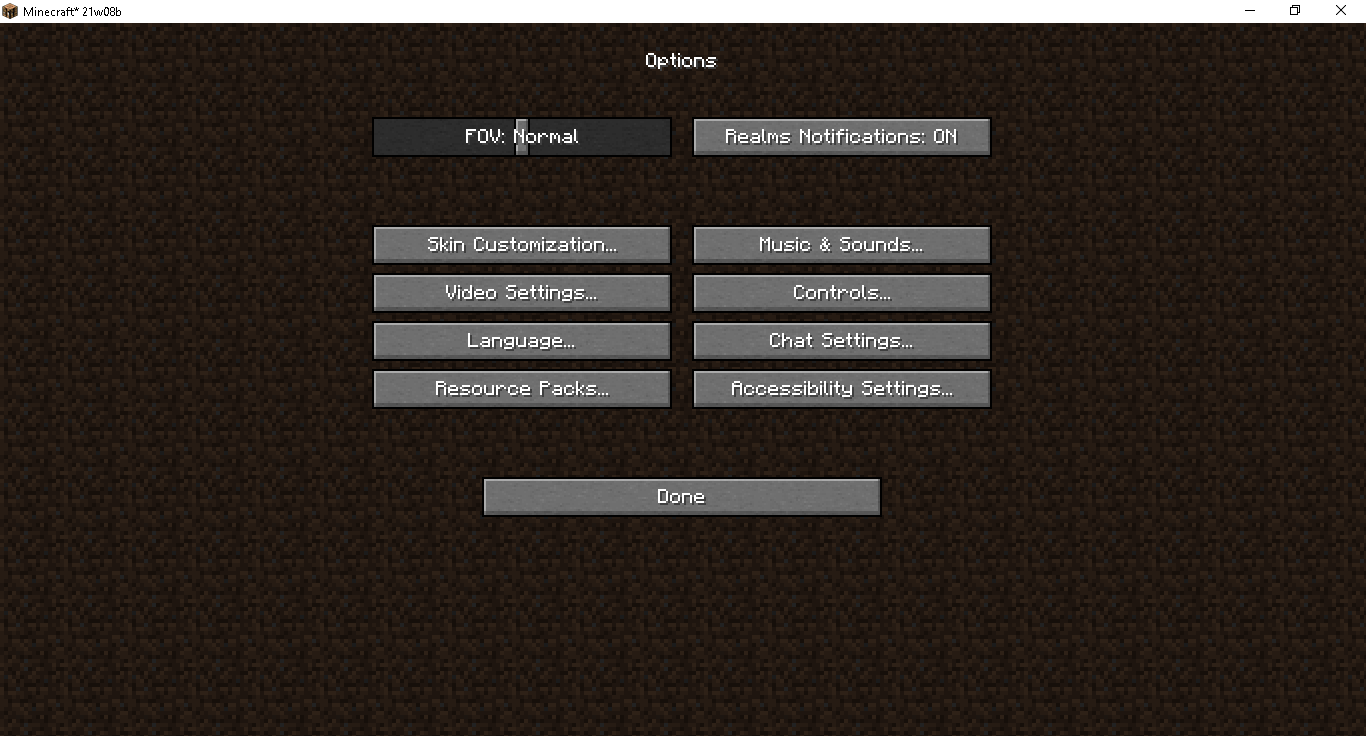
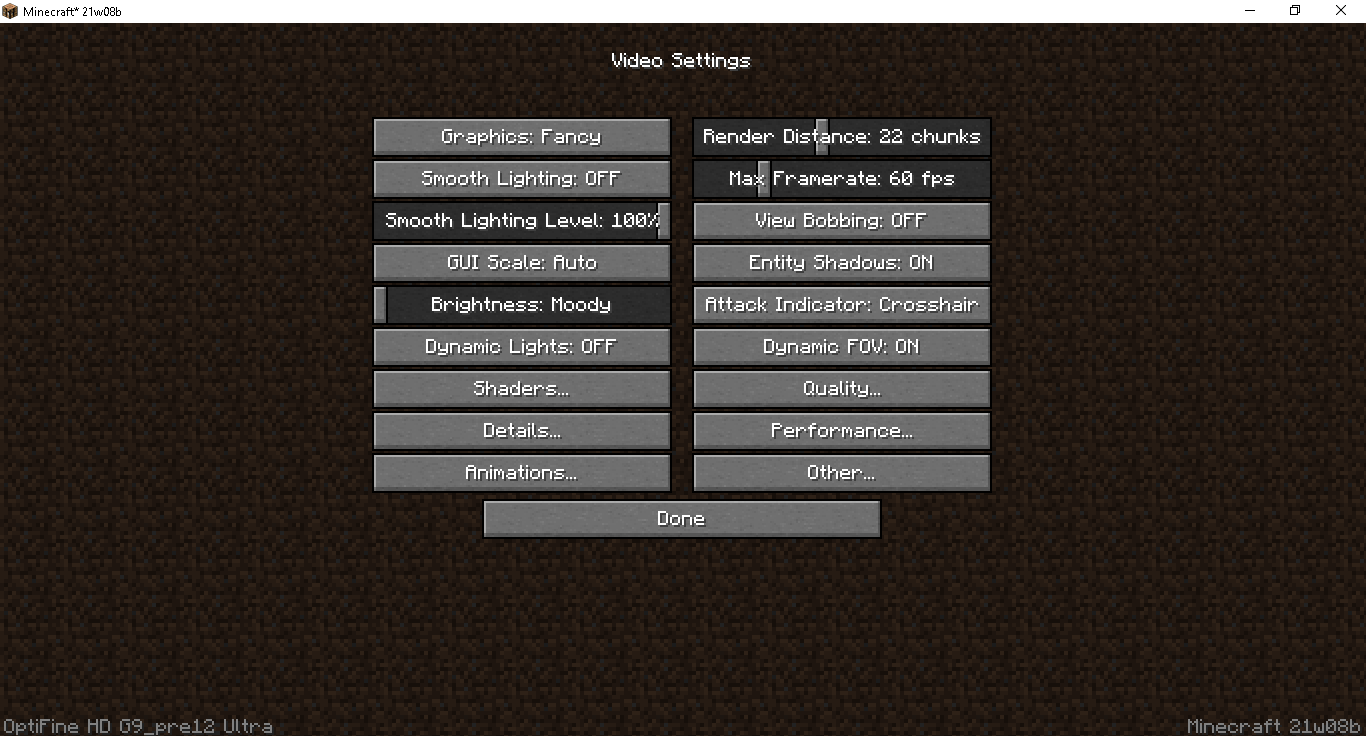
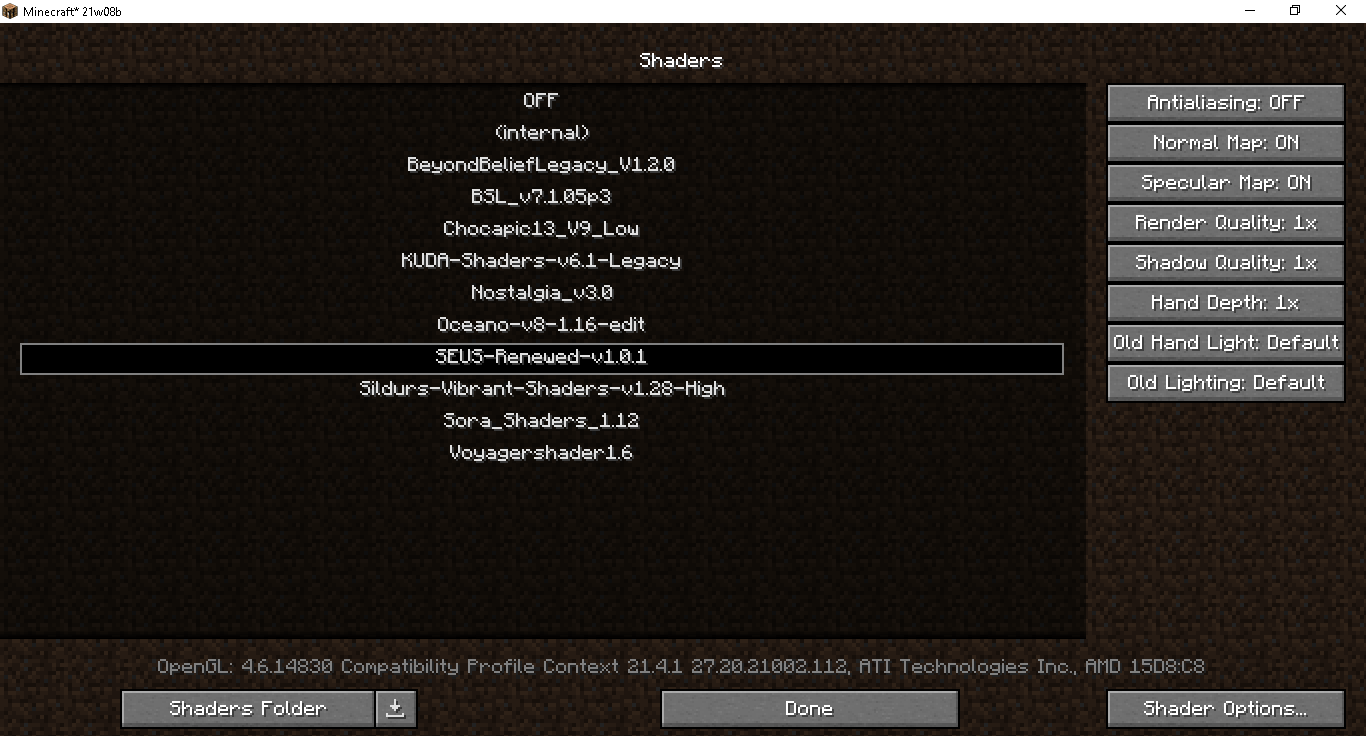
This step is pretty straight forward. All you need to do now is activate the shaders. Please follow these step by step procedures that we will show you through a series of screenshots.
Before activating the Minecraft Shader, you would need to go to open a folder or any windows tab. Unzip the downloaded shader. Then go to C:\Users\YOUR-PC-NAME-HERE\AppData\Roaming\.minecraft\shaderpacks. Then paste the unzipped shader folder there.
1. On the main menu, click on options
2. Click on Video Settings
3. Click on Shaders
4. Select which Shader you want to use, and keep clicking done until you reach the main menu again.
If you have followed those steps completely, your Shader should now be activated.
Step 5: Enjoy the Game
Congratulations, you may now load your game and enjoy awesome HD graphics. We hope this guide might have helped you learn How to Install Minecraft Shaders. Game On!
The Best Minecraft Shaders
Not sure which Shader to download yet? Here are some notable shaders that you can try out first.

